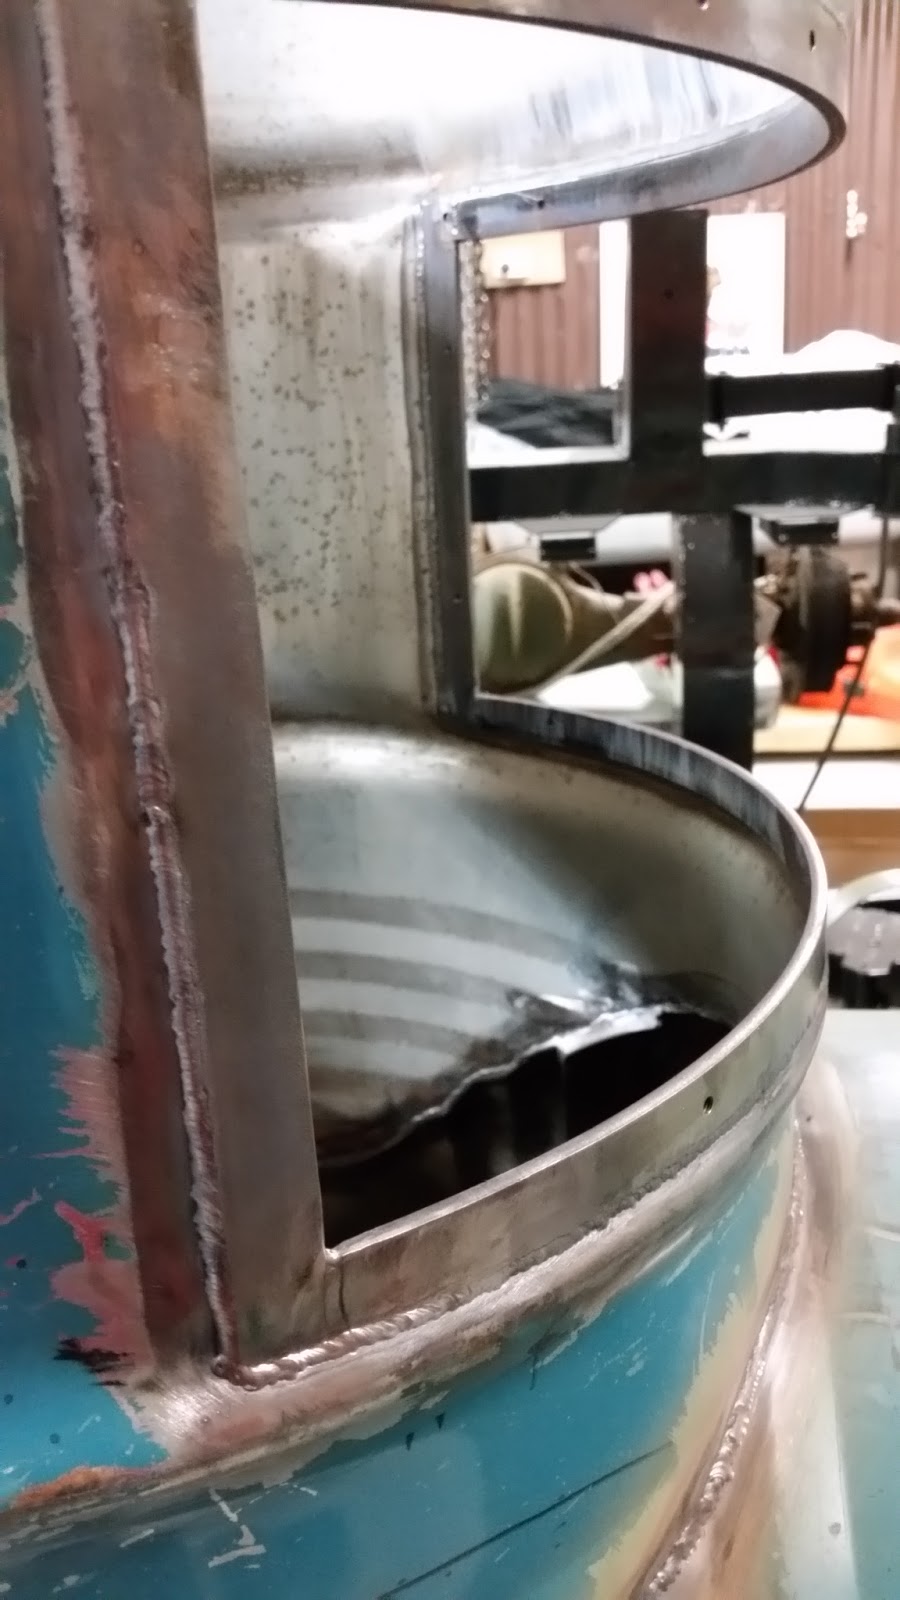
This update I've welded in the rims for both the front and rear window. I won't be bolting the perspex to the frame until I'm ready to pressure test, to save damaging them as I cut and weld other parts of the hull on.
Fig. #1 & Fig. #2. Cutting out the window area to the final size so that the 5 mm thick frame lines up nicely with the drums ribs.
 |
| Fig. #1 02/06/2016 |
 |
| Fig. #2 02/06/2016 |
Fig. #3 & Fig. 4. Getting the frame welded together.
 |
| Fig. #3 02/06/2016 |
 |
| Fig. #4 02/06/2016 |
 |
| Fig. #5 02/06/2016 |
 |
| Fig. #6 28/08/2016 |
 |
| Fig. #7 28/08/2016 |
 |
| Fig. #8 29/08/2016 |
 |
| Fig. #9 14/10/2016 |
 |
| Fig. #10 14/10/2016 |
 |
| Fig. #11 14/10/2016 |
 |
| Fig. #12 14/10/2016 |
 |
| Fig. #13 14/10/2016 |
I have already sent plans off to have the dome and base of the hatch made (Fig. #14 & Fig. #15). I should be able to start building that in a few weeks. Next I will start putting together the the diving plane hubs on the sides of the conning tower. Also I will make the 4 wings that are to be the diving planes and elevators. The diving plane hubs will double as a step to get into the hatch, and also will house the external pressure sensor and a 100W LED light on each side.
 |
| Fig. #14 |
 |
| Fig. #15 |