Friday, 2 December 2016

Tidy Up #1

Over the last few weeks I've been cleaning up a few bad welds that were done earlier on, and I cleaned out all the surface rust on the inside of the sub and gave it a thick undercoat of paint.

Fig. #1, Fig. #2 & Fig. #3 show the bad welds on the front dome.  This was caused by contaminants in the weld pool.  Probably due to the steel not being cleaned properly first.  These were some of my first welds.

Fig. #1
10/11/2016

Fig. #2
10/11/2016

Fig. #3
10/11/2016

Fig. #4.  The inside of the front ready to be painted with kill rust undercoat.  It took a few hours lying down at awkward angles with an angle grinder and a wire brush in the drill to clean all the surface-rust off.

Fig. #4
11/11/2016

Fig. #5 & Fig. #6.  The front finished.  I may yet put a top coat over it, but that won't be until the sub has been fully tested.

Fig. #5
11/11/2016

Fig. #6
11/11/2016

Fig. #7.  I hooked up Dad's dust extractor to pull out all the fumes from the paint, it worked really well.  It also kept a nice cool airflow through the sub.

Fig. #7
14/11/2016

Fig. #8.  The inside of the rear all done.

Fig. #8
14/11/2016


Next job is the hatch dome!
Monday, 7 November 2016

Hatch #1

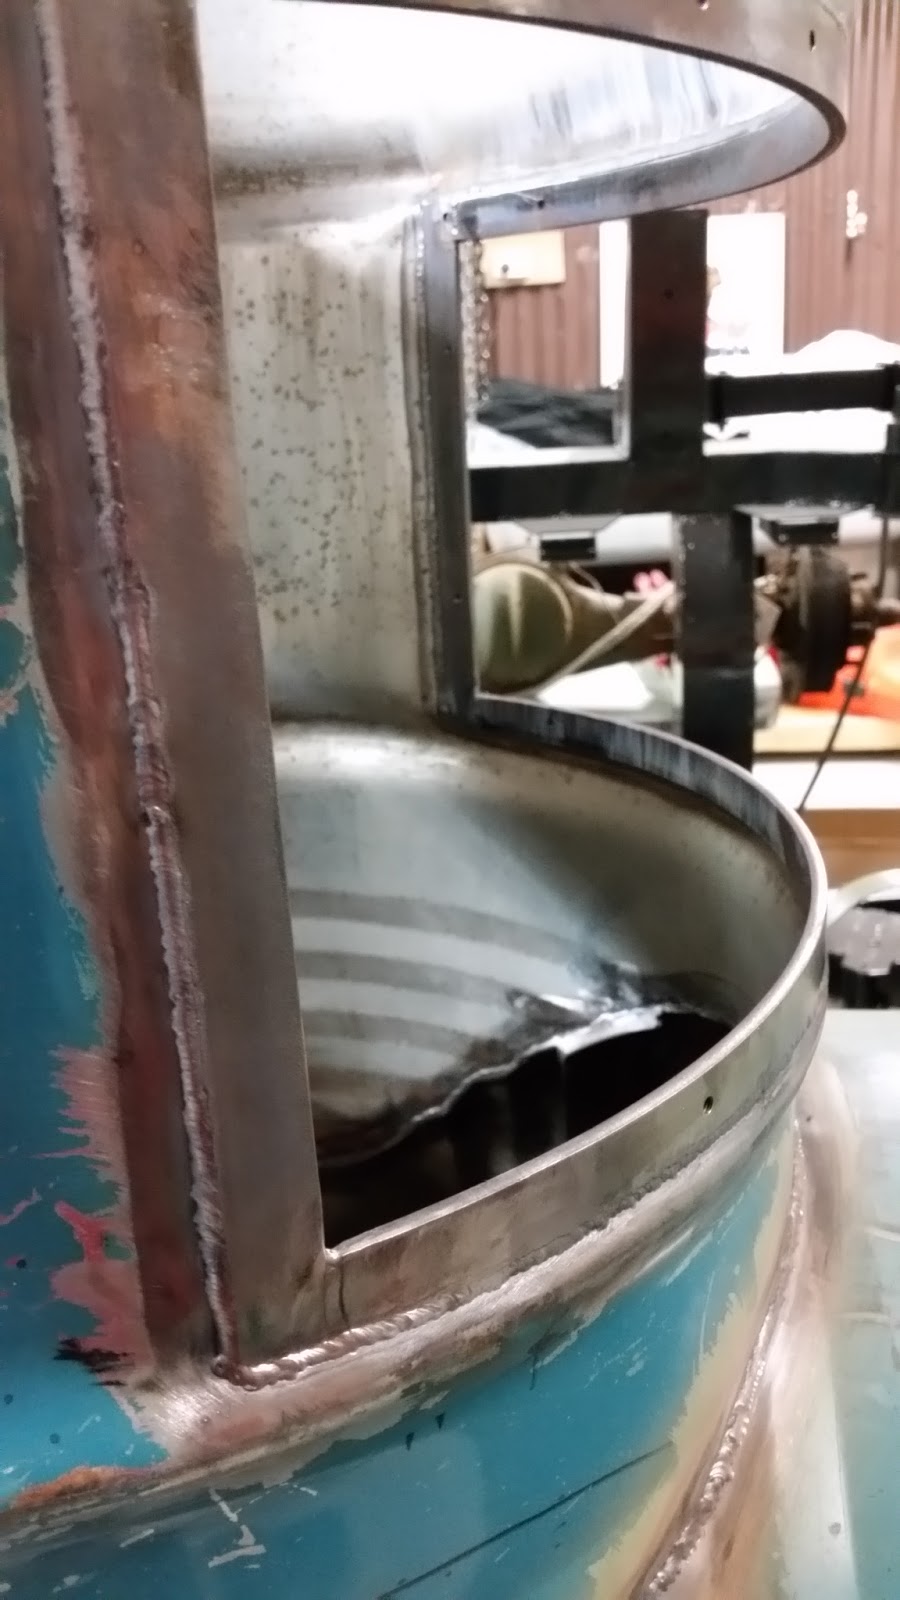
On Saturday I welded in the hatch to the top of the conning tower.  The lip around the inside of the hatch will stop any water dripping inside when I open the lid after a dive.  I'm currently getting a dome made up for the lid and should be able to start making the rest of it over the next few weeks.

Meanwhile I'll be getting the dash panels welded inside and can start working on cleaning up the interior so I can start putting everything thing in place ready to test.  This will involve laying inside the hull with the drill and a wire brush to clean any surface rust and prep for painting.  I may even have to use a sealant to seal around any pieces of steel where moisture can get between the hull and cause rust.


Fig. #1.  The whole thing has been welded from the inside.  It was really fiddly getting the TIG torch up into the corners.

Fig. #1
07/11/2016

Fig. #2.  An inside shot of the brackets that help keep the top plate level.

Fig. #2
07/11/2016

Fig. #3.  Here I'm trimming up the outside.  I sat it down inside the drum a little to make it easier to take the twist out of it - which unfortunately happened when I welded the inside lip on.  It defiantly took out most of the twist this way, but looking closely you can still see it's not perfect, but it will do the job okay.

Fig. #3
07/11/2016

Fig. #4.  All trimmed up.

Fig. #4
07/11/2016

Fig. #5.  The outside of the inner lip has been welded and the whole lot given an undercoat.

Fig. #5
07/11/2016

Next update coming soon!

Friday, 14 October 2016

Windows #1

This update I've welded in the rims for both the front and rear window.  I won't be bolting the perspex to the frame until I'm ready to pressure test, to save damaging them as I cut and weld other parts of the hull on.


Fig. #1 & Fig. #2.  Cutting out the window area to the final size so that the 5 mm thick frame lines up nicely with the drums ribs.

Fig. #1
02/06/2016

Fig. #2
02/06/2016

Fig. #3 & Fig. 4.  Getting the frame welded together.

Fig. #3
02/06/2016

Fig. #4
02/06/2016
Fig. #5 to Fig. #8.  The front window frame welded in place and painted.  The window will be put on last.


Fig. #5
02/06/2016

Fig. #6
28/08/2016
Fig. #7
28/08/2016

Fig. #8
29/08/2016
Fig. #9.  I quickly added on the main ballast tank air line ports to both sides of the conning tower.  I had to make up an internal clamp to hold the threaded reducer in place whilst i welded it.


Fig. #9
14/10/2016
Fig. #10 & Fig. 11.  Both ports welded on.


Fig. #10
14/10/2016

Fig. #11
14/10/2016
Fig. #12 & Fig. 13.  The rear window is now complete too.


Fig. #12
14/10/2016

Fig. #13
14/10/2016

I have already sent plans off to have the dome and base of the hatch made (Fig. #14 & Fig. #15).  I should be able to start building that in a few weeks.  Next I will start putting together the the diving plane hubs on the sides of the conning tower.  Also I will make the 4 wings that are to be the diving planes and elevators.  The diving plane hubs will double as a step to get into the hatch, and also will house the external pressure sensor and a 100W LED light on each side.


Fig. #14

Fig. #15