Wednesday 25 March 2015

Propulsion System and Elevators #1

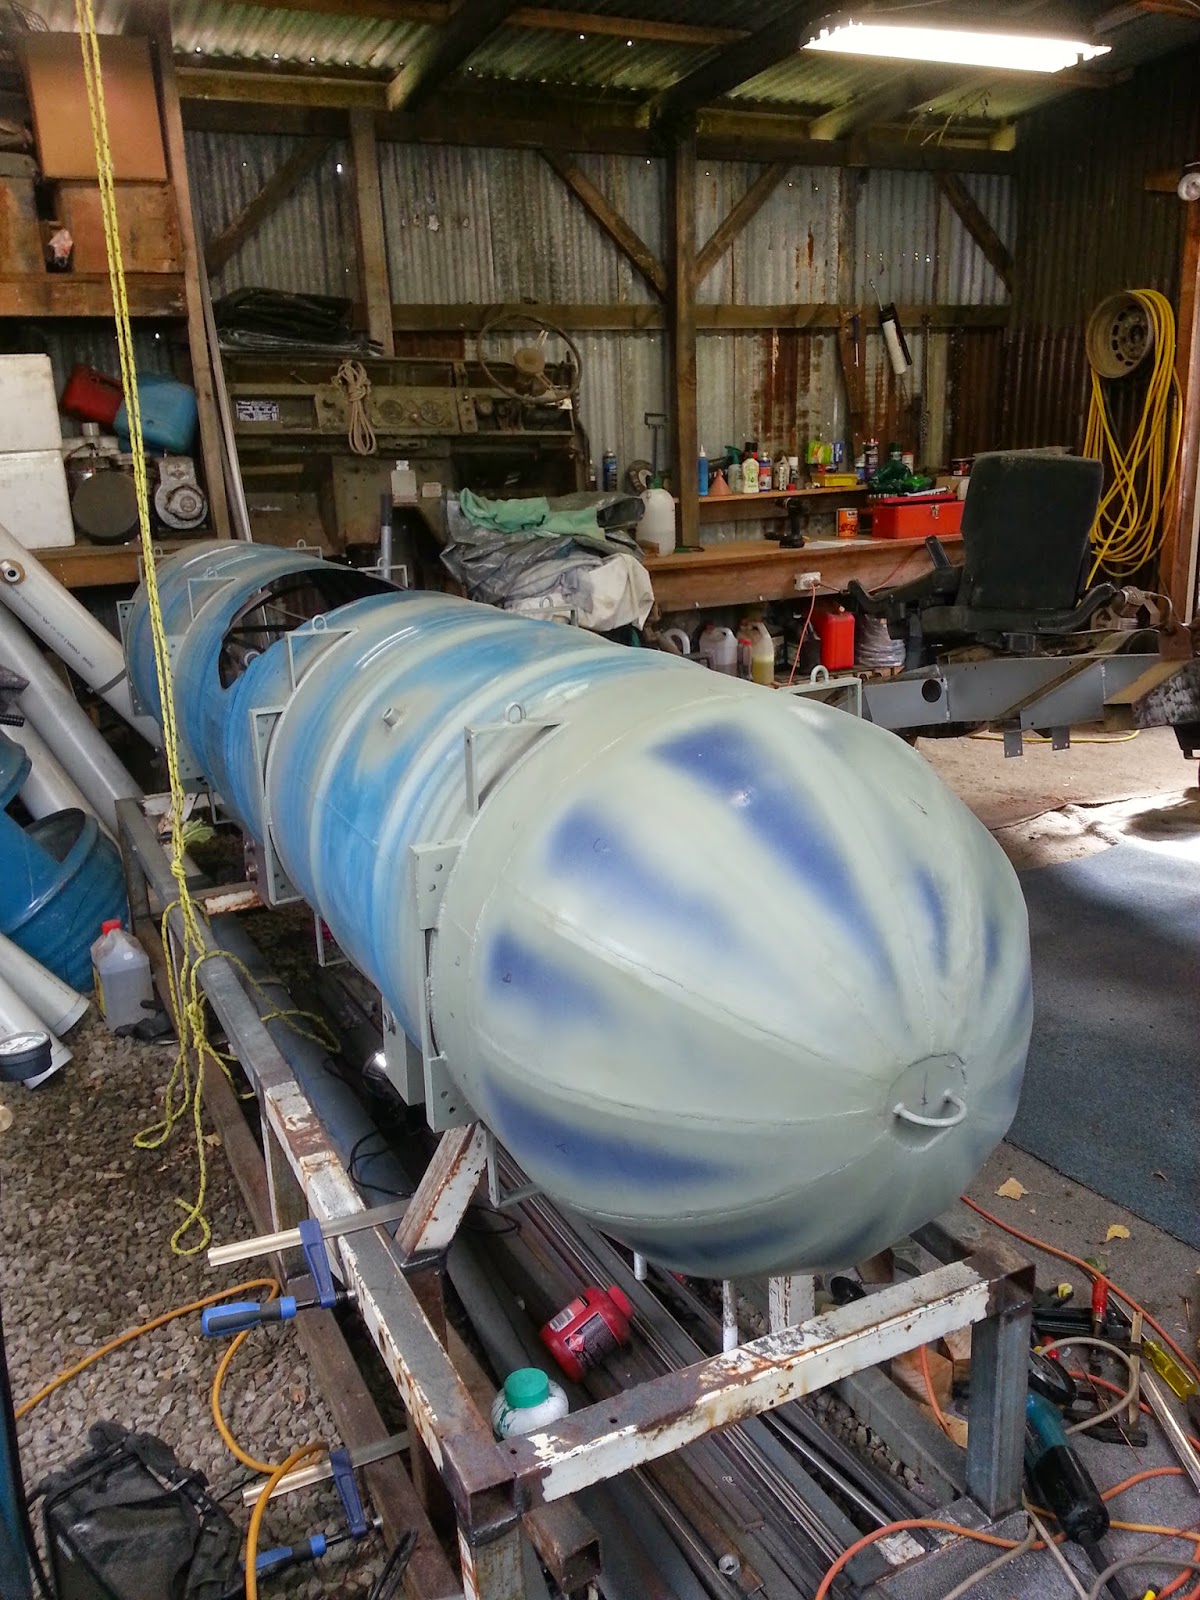
Now starts the design of the entire back section of the submarine.  This is the first of many posts that will follow the design and construction of the rear.  I'll try to update it weekly, but it'll be mainly based on how much I'm able to get done.

Everything in the pictures below was design to scale so I could get measurements from it and also make sure everything would actually fit and work!  The elevators are going to look a little more curved than they do at the moment, but the basic shape is there.

25/03/2015

The rudder bearing system.  One will be above the motor, and another will be below it.
23/03/2015

Cutting out the pieces.
25/03/2015

25/03/2015

Putting together the grooved wheels that'll take the nylon cables to the back and turn the motor and elevators.
25/03/2015

Friday 20 March 2015

Pressure Test #1

Before building the engine and elevator mount I decided it would be a good idea to actually test whether or not the idea I had for stopping leakage around the shafts would work.  Unfortunately, it didn't work, but I'm glad I found out now rather than 10 meters underwater.


The pressure chamber built from 100 mm PVC and a bike tyre valve.
20/03/2015

Turning up the screw cap in order to hold the shaft in place.
20/03/2015

The shaft and oil impregnated nylon seal.  The idea is that a clamping force from within the sub will push into the nylon and seal it.
20/03/2015

Here the shaft is using the pressure inside the chamber (15 - 20 psi) to hold it in place against the nylon.  It seals perfectly (with a little grease) but now the force required to turn the shaft is far too impractical.  There's no way it could be turned by depressing rudder pedals or a hand driven wheel unless it was geared drastically.
20/03/2015
Another option which I'm now looking into is dual lipped oil seals.  After a few experiments I'll see if it's a winner.
Dual lipped oil seal

Wednesday 18 March 2015

Front Dome

It's been a month in the making and the front dome has finally been completely welded together!  It still needs a little sikaflex to tidy up some gaps around the welds, but that'll be done later on when the battery compartment has been welded in so the heat of welding doesn't burn off the sikaflex
Starting to weld the cage on.  The nose part has the u-bolt welded to it so the sub can be towed back onto the trailer.

16/02/2015

The first four ribs welded on.
18/02/2015

All the ribs are on.
18/02/2015

All the segments roughly cut from 44 gallon drums.  Each sheet was then put up against the dome cage and cut to size.  Each segment took about 2 - 3 hours each to weld to the sub.  With a total of 12 segments it took around 24 to 30 hours to complete.
18/02/2015

The first segment going on.  Each one had to be clamped and tack welded bit by bit so that the thin steel wouldn't buckle anywhere as it followed the curve of the dome.  This is why it took so long.
18/02/2015

Works in progress...
14/03/2015

17/03/2015

...and here it is completed.  The grey paint is just to stop the welds rusting.  Once the sub has been fully tested it'll be given a coat of marine grade paint.
18/03/2015

18/03/2015

18/03/2015